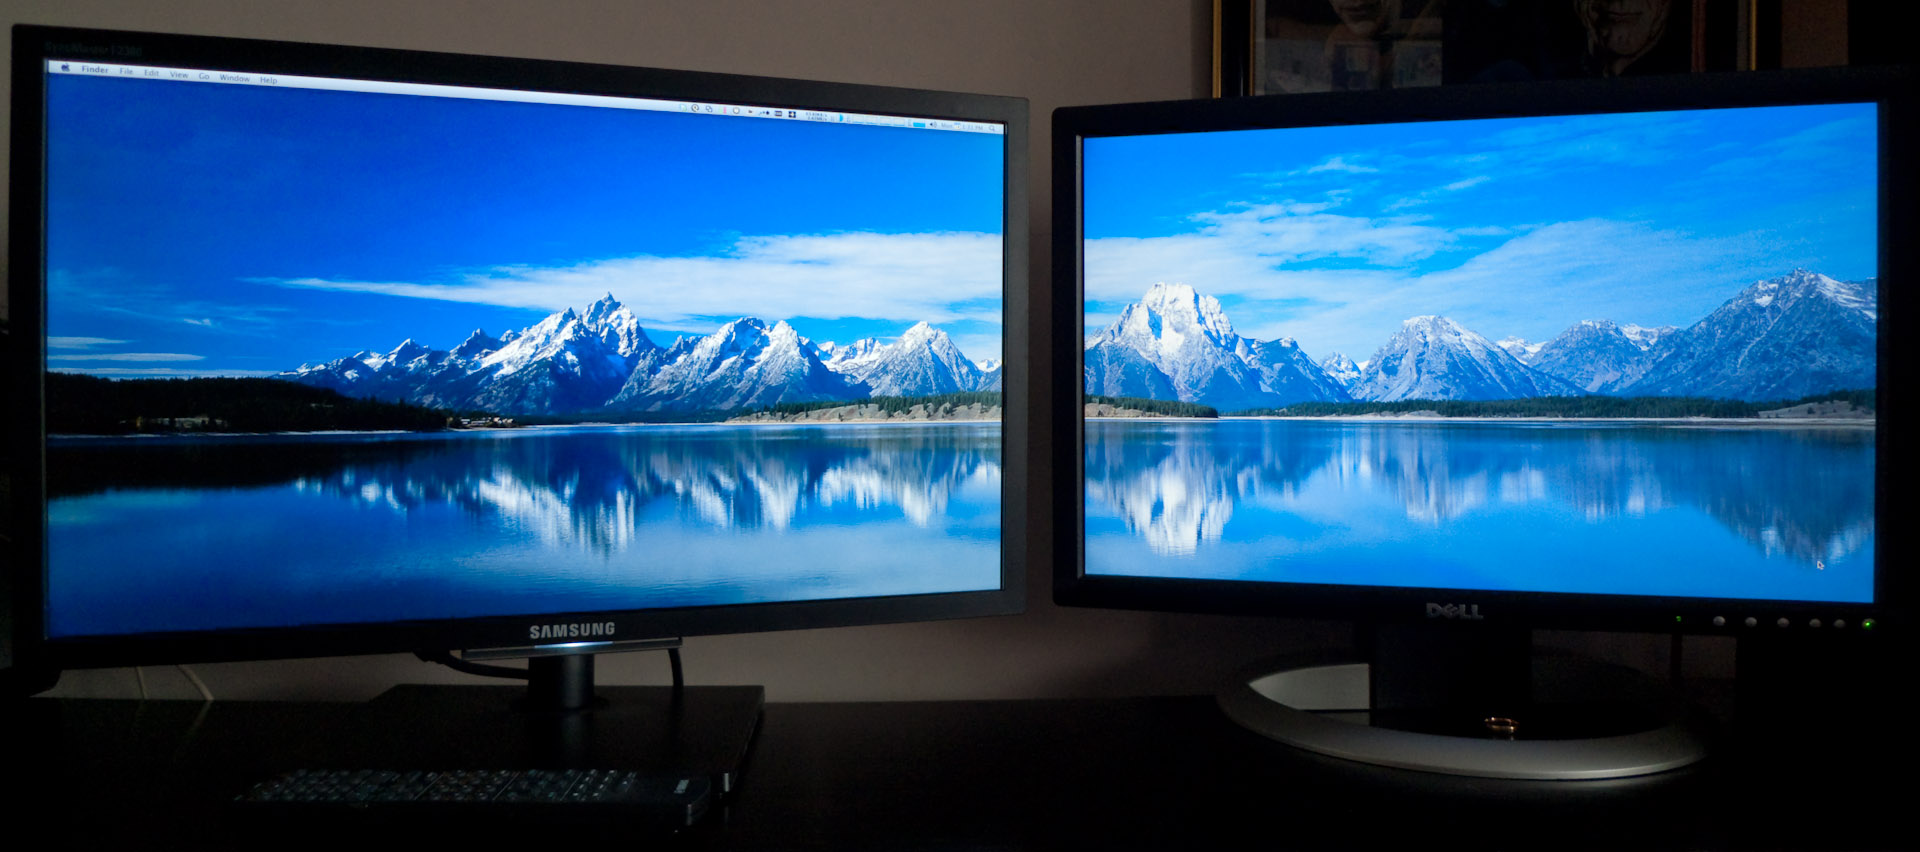
Using multiple monitors can be handy for displaying more information on-screen at once, allowing you to do two or more simultaneous tasks at once, or it can be useful for browsing the web whilst gaming. Whatever the reason you want to use multiple monitors, here’s how you can do it in four easy steps.
Step 1:
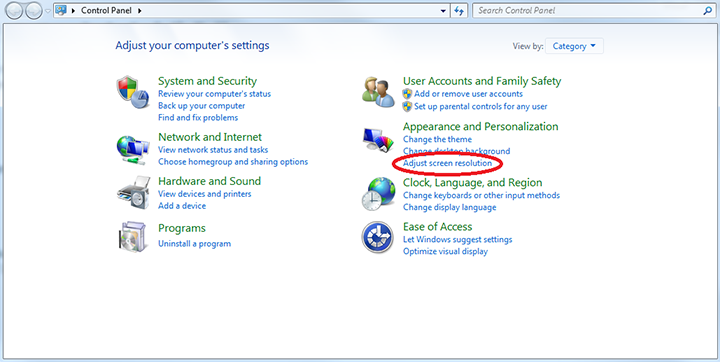
Access the Control Panel via the Start Menu.
Step 2:
Firstly, make sure you are viewing the Control Panel by category by checking the ‘View by’ in the top right, and then click ‘Adjust Screen Resolution’ located below ‘Appearance and Resolution’
Step 3:
You should have this dialog open.
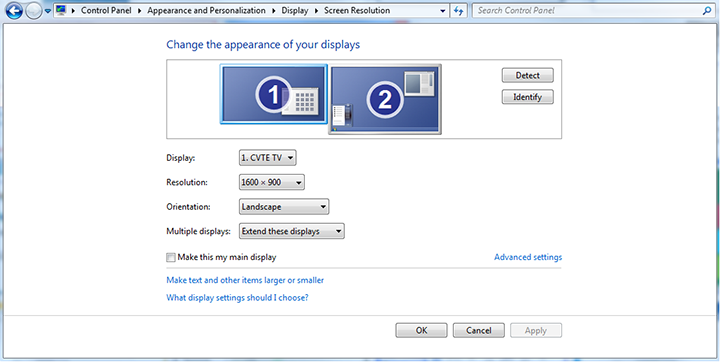
Firstly, you will want to change ‘Multiple displays’ to ‘Extend these displays’. This will turn your displays into a multiple-monitor set-up.
Step 4:
Click Apply, then click Identify. You should have this pop-up:

The monitor that displays 1 is represented by the monitor with (1) on it, in the dialog. The same applies for number 2, and so forth.
Click the monitor that you wish to be the main monitor, and, unless the text ‘This is currently your main display’ appears, click the check-box that is beside ‘Make this my main display’. Click OK.
You should now successfully have a multiple-monitor set-up. To know if it has successfully worked, you should be able to move your mouse cursor from one monitor to another, and also be able to move dialog boxes from one to the other.